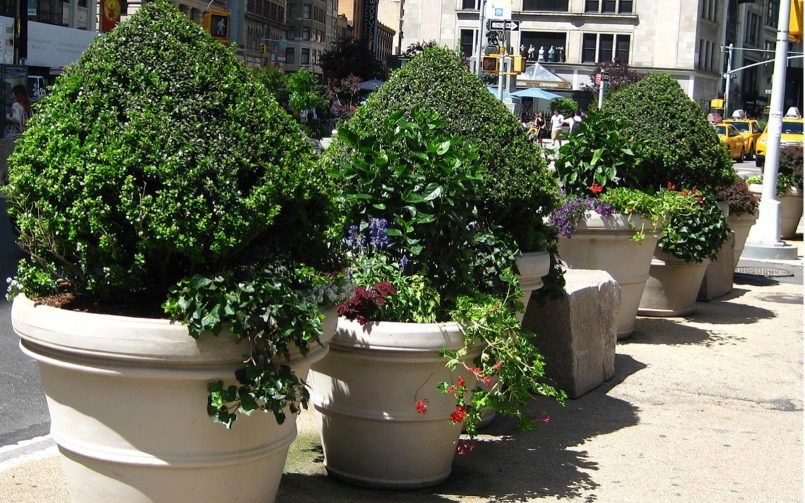
Commercial planters are quite pricey for residential use because of its contemporary design, durability, and high quality. Since some of us don’t really need a commercial grade planter for our plants, we can also make our own custom planters at home. In doing so, we need to use our creative minds to produce an elegant indoor or outdoor planters that will enhance the beauty of our plants.
One of the most commonly used materials for commercial planters is wood. But some types of commercial planters including hotel planters and restaurant planters use fiberglass or premier cellular PVC. These materials are more durable and can simulate the appearance of wood which made them more desirable for consumers.
So in a step by step manner, I will give you a tutorial on how to make your own wood planters at home. Take note that this will be for outdoor use only because there is no drainage system inside unlike most modern large round planter today. Cedar-Made Ball Finial Deck Planter Materials needed for your custom planters:
* 5cm x 5cm pressure-treated timber (length depends on the size of your desired planter)
* 15cm x 1cm gravel board
* Saw, drill, 3mm wood drill bit
* Screwdriver, try square, pencil, tape measure
* 75 x 7.5cm and 20 x 5cm zinc-plated screws
Instructions:
1. Make a draft of the planter you want to create and take note of the measurements. As a beginner, it will be advisable to create a simple planter like square or rectangular in shape. But if you want to build large planters, its fine. The size is not too complicated compared to the form.
2. Cut the timber according to your desired length and width of the planter. Make sure that the ends of the timber are square as much as possible for a smooth finish.
3. Now its time to lay out the first and bottom-most layer of your wood planter. You have to butt one end of each timber to the next with the drilled holes on the side. Fix the frame together with 7.5cm screws.
4. Now that you have the bottom frame done, cut the treated gravel board according to the size of your planter and pre-drill them. You may then attach the boards to the frame with the use of 5cm screws.
5. After you have attached the bottom boards, flip the frame over so that the bottom boards sit on the ground. Place the next layer of timbers on the top of the frame and fix them with 7.5 screws. Make sure that you alternate the corner joins.
6. Place the next layers using step #5 until you have reached the desired height of your custom planters.
7. To finish it off, line your custom planters inside with plastic to protect the wood and fix them with small nails.
8. Before you get too excited to use your newly-made planters and fill it with compost, be sure to make drainage holes first.
There you have it. You are done with your custom planters. Since pressure-treated timber were used for your new planters, you can paint them with any color you want without having to worry about it getting rotten.
It may be less expensive to make your own indoor or outdoor planters but if you want long-lasting and a more professional finish, it wouldn’t hurt to order for commercial planters. Their high quality is worth your investment.
